한국 아이폰
홈페이지
아이폰 미성년자녀 애플 아이디 계정 생성하는 방법(+CVV 오류 해결하기)
갤럭시 아이폰 모두 사용가능 한, 아이워크 커넥트교체 도킹형 보조배터리 LPX001상세리뷰
아이폰 화면 녹화 저장하기 - 내 목소리도 함께
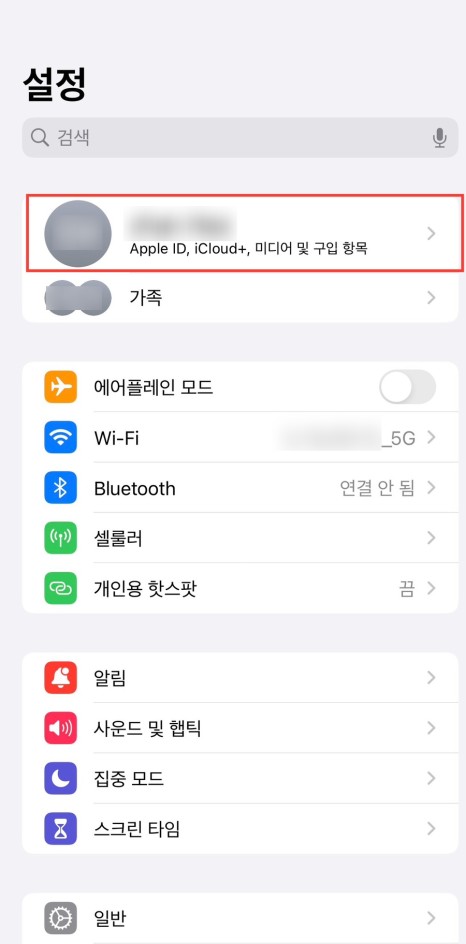
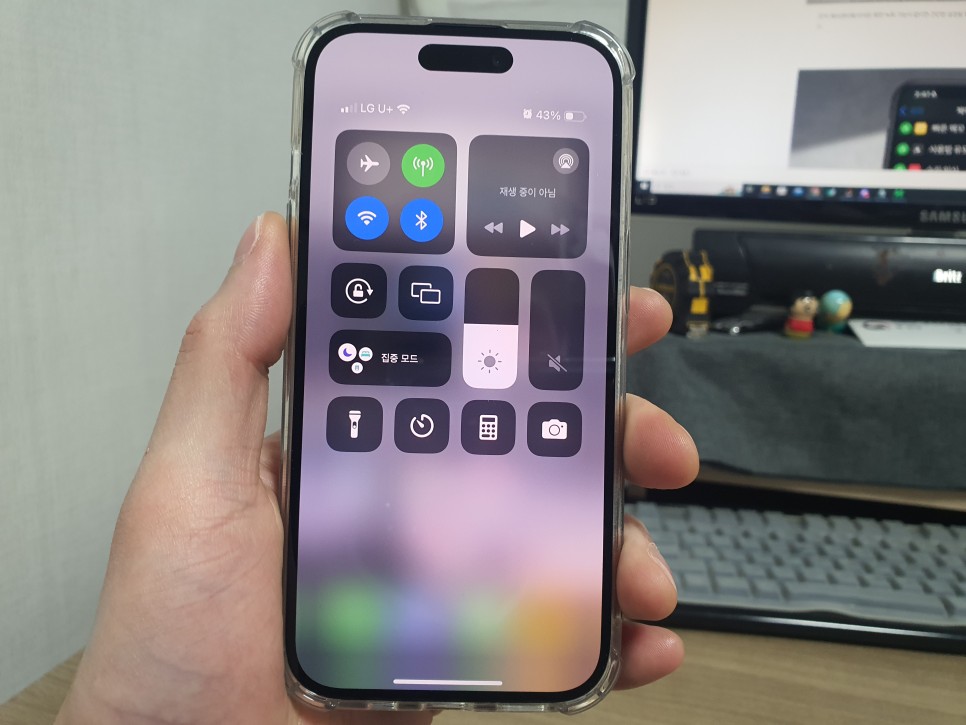
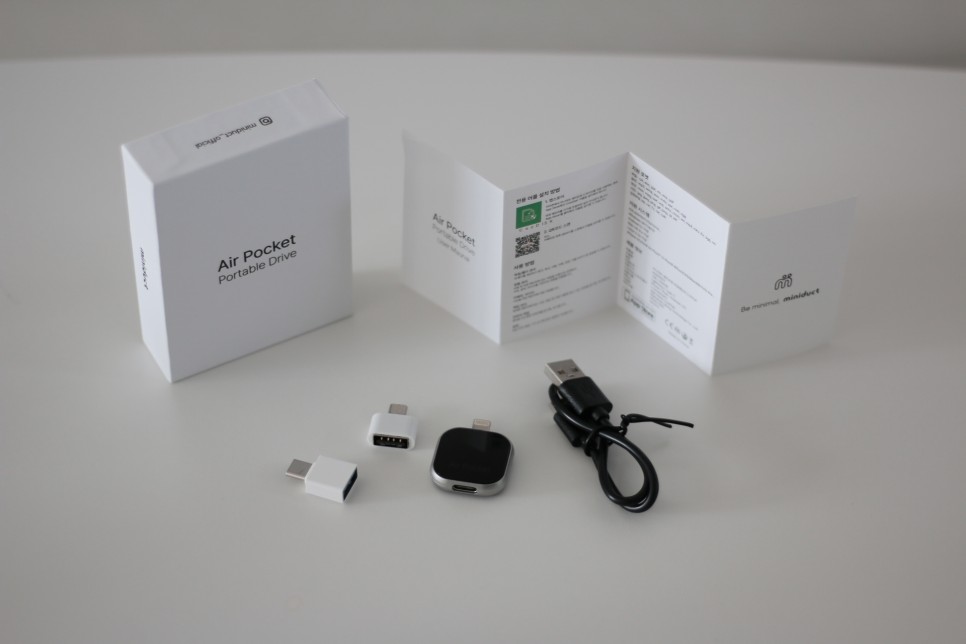
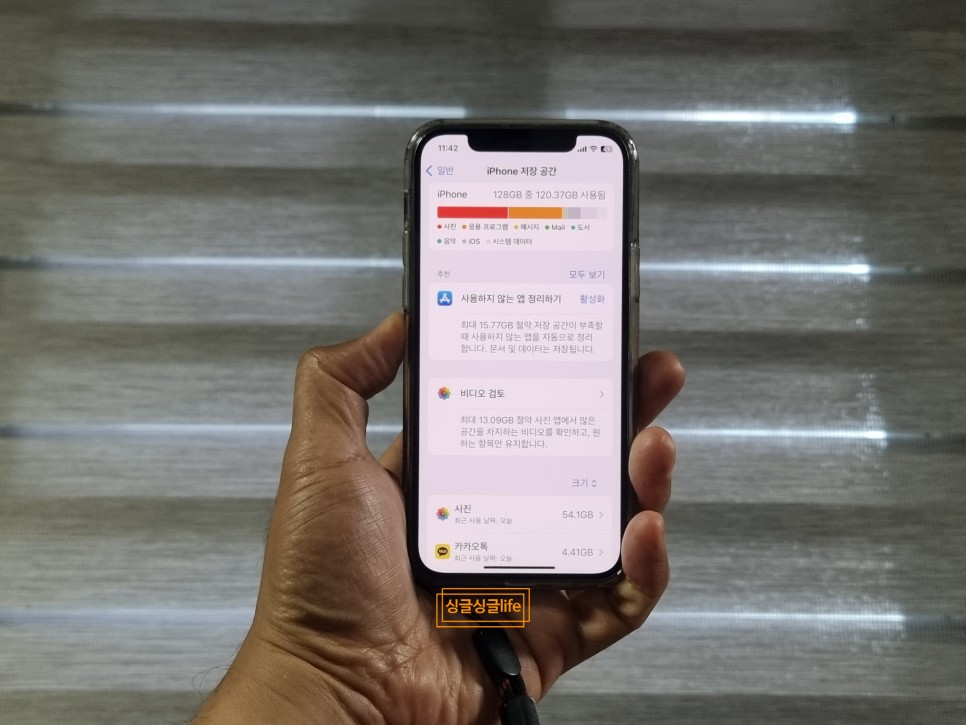
아이폰 외장메모리 미니덕트 128GB 사진 백업용으로 굿!
[아이폰14PRO] BEST상품 순위 | Apple 정품 아이폰 14 Pro 자급제, 딥퍼플, 512GB
아이폰 사진을 PC로 전송하기 위한 완벽한 가이드
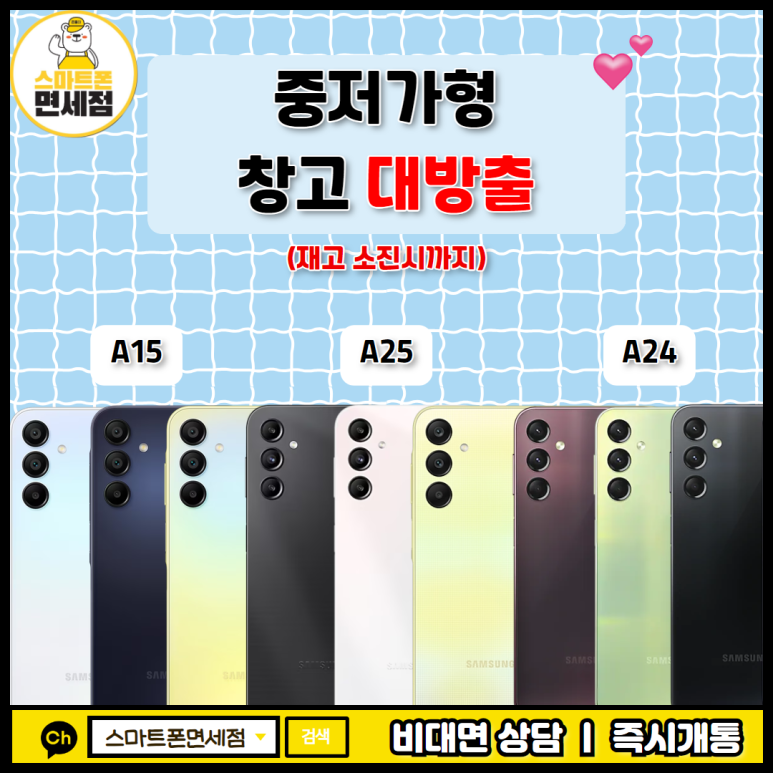
대전 중저가형 스마트폰 저렴하게 구매하는법 - 관저 도안 가수원 휴대폰 핸드폰 아이폰 키즈폰 성지
[ict밸리컨벤션] 마가렛로즈 아이폰 스냅 촬영
아이폰 백업 방법 2가지 아이튠즈 아이클라우드 백업 복원까지
나도 돌끝맘! 아이폰돌스냅 온화한스냅 후기
아이폰 해킹 확인 방법 및 해결 하는법 어렵지 않습니다.
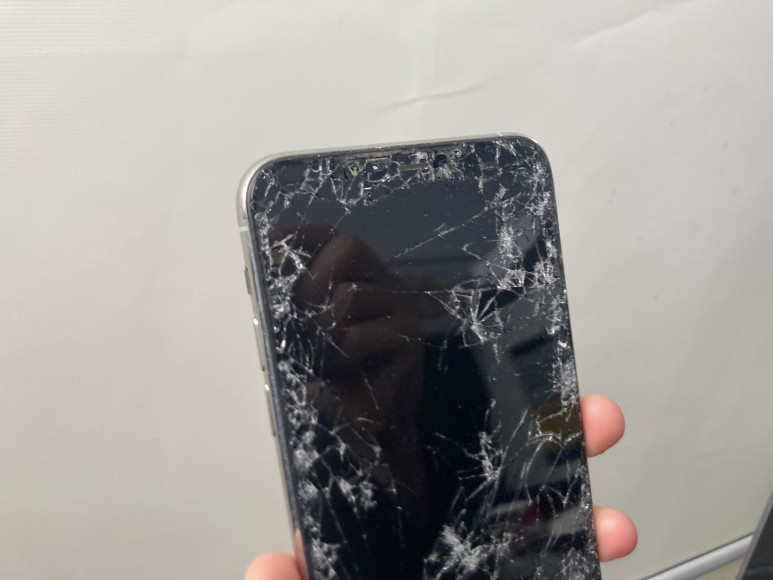
조선대 아이폰 액정수리 새벽에 가능 추천! 강추 많은 곳은 추천도 추천이지만 경험으로 상담해보시는게 더 나아요!! 통화 고!
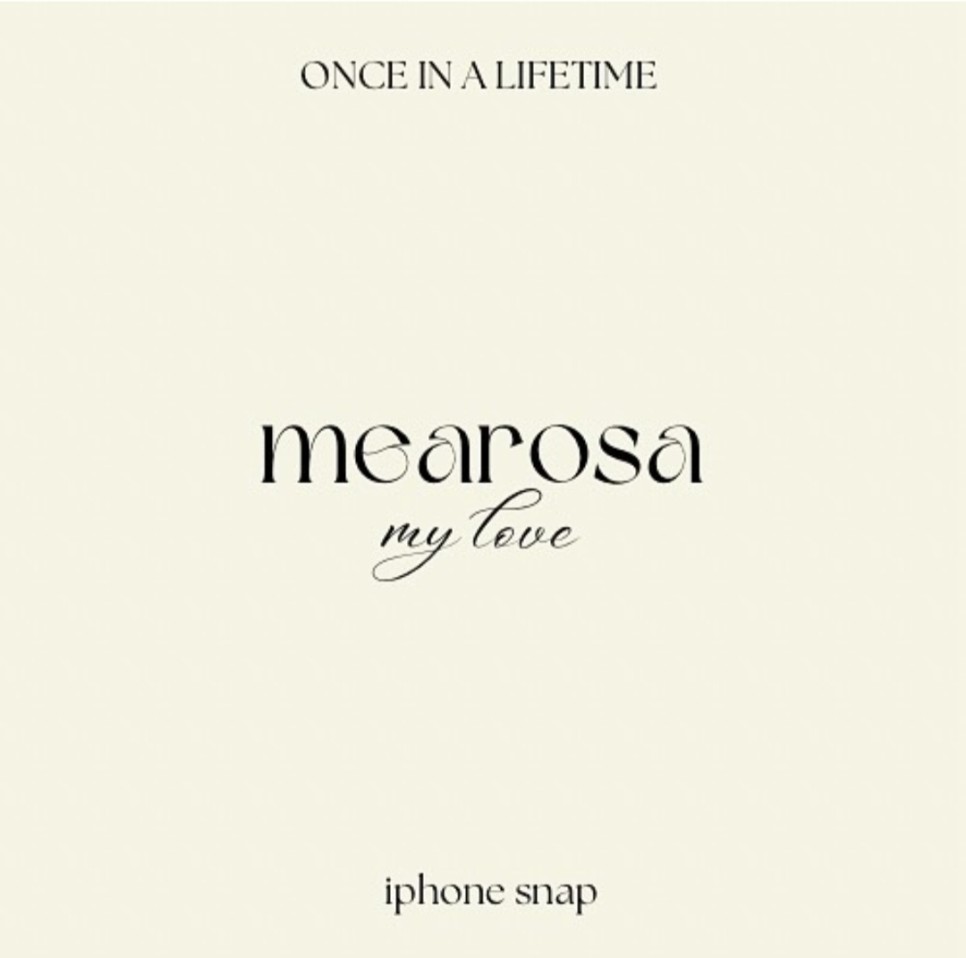
삼성 서초사옥 웨딩 아이폰 스냅 메아로사 계약☆
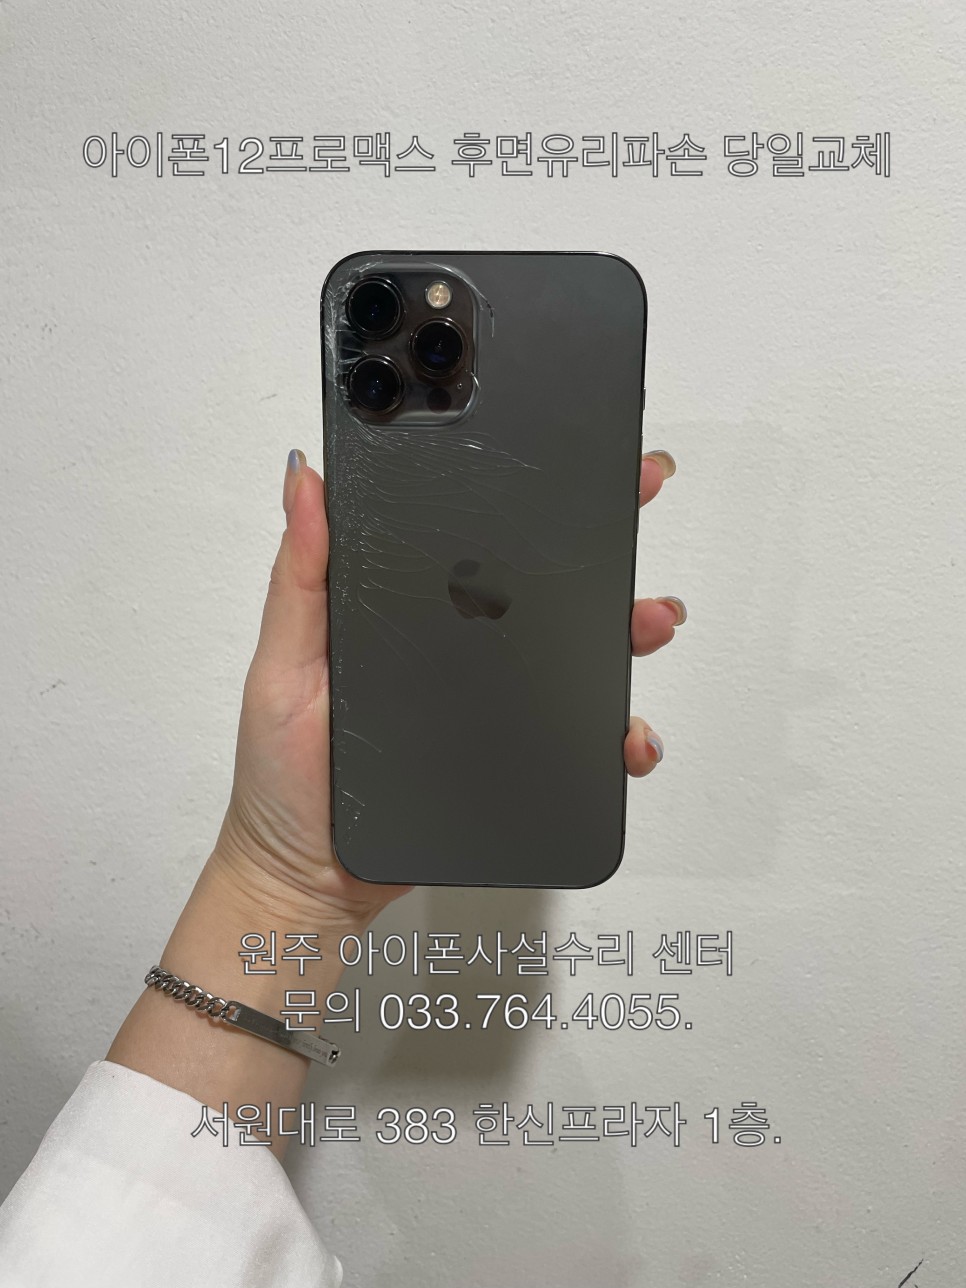
원주아이폰수리 아이폰12프로맥스 후면유리파손 당일교체.
갤럭시무선충전기 노존 아이폰 여행용 갤럭시 3IN1 무선충전기 여행갈때 꼭 챙겨요
아이폰14프로맥스 256 가장 저렴하게 구입하는 방법!
오군컴퓨터 홍대 아이폰 배터리 교체 당일 후기
아이폰에서 갤럭시로 갈아탐
아이폰스냅 커밍스냅 예약후기 (짝꿍구해요)
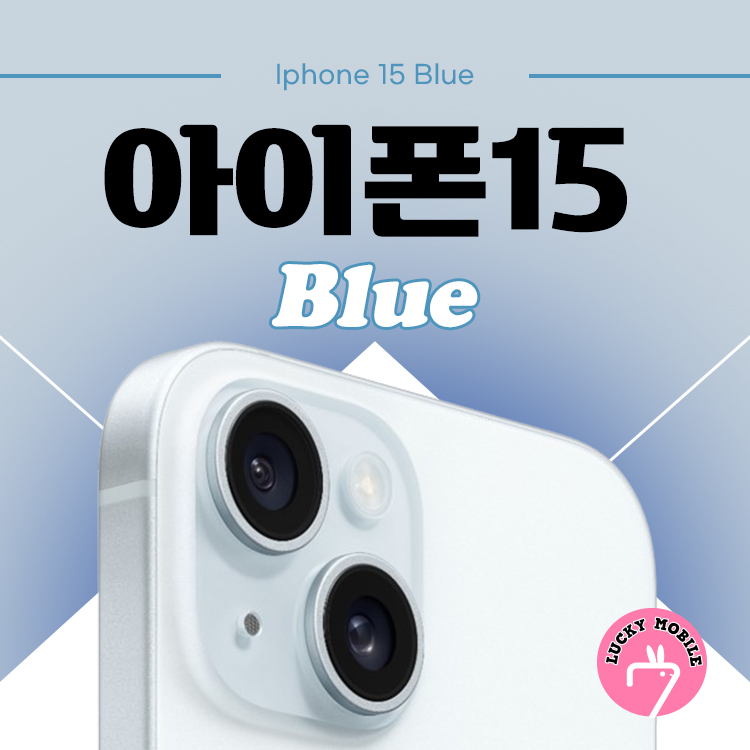
신도림테크노마트 아이폰15 블루 빠른 개통까지
미중패권전쟁 애플 중국 아이폰 앱스토어 페이스북 WhatApp 쓰레드 지운다
아이폰 무선 충전기 갤럭시 무선 충전기 3IN1무선충전기 노존 후대폰 충전기 추천
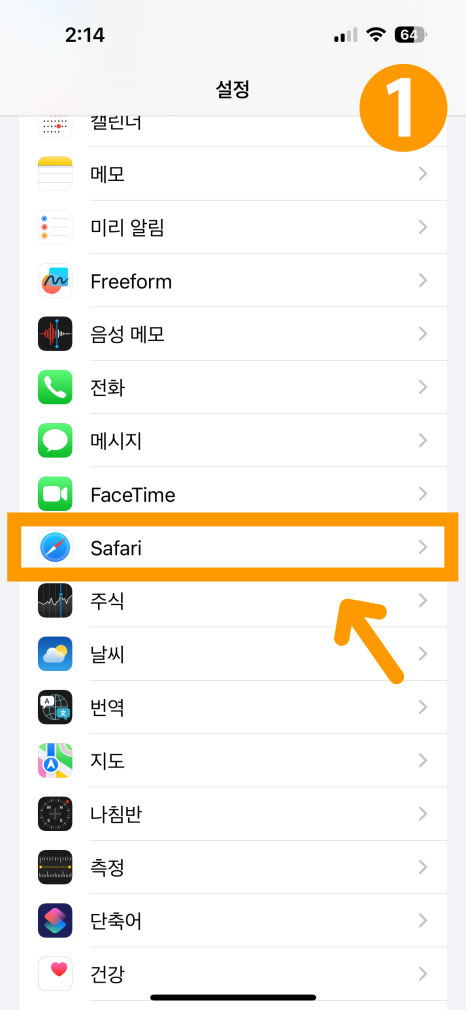
아이폰 탭삭제 / 사파리 방문기록 삭제 (사파리 관련 총정리!)
액정교체비용 아끼는 건대아이폰수리 방문후기
[아이폰종류] 가격정보 | 제주 삼다수, 2L, 24개
아이폰 카톡 키워드 알림설정 방법
iPhone 14 삼성카드 단독 프로모션
스타일과 보호를 동시에! 아이폰 15 프로 케이스로 완성하는 완벽한 보호 장치
갤럭시S24, 아이폰15 최저가 대전휴대폰성지
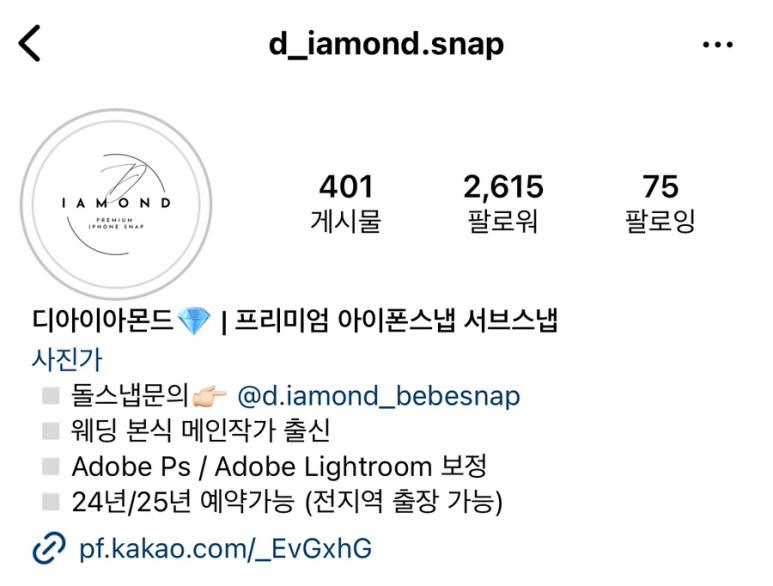
[결혼준비] 인천 아시아드 웨딩컨벤션 아이폰 스냅 업체 추천 ‘디아이아몬드 아이폰 스냅’(+짝꿍할인, 페이백)